The Halo Exercise: A Comprehensive Guide for Shoulder Strengthening and Mobility
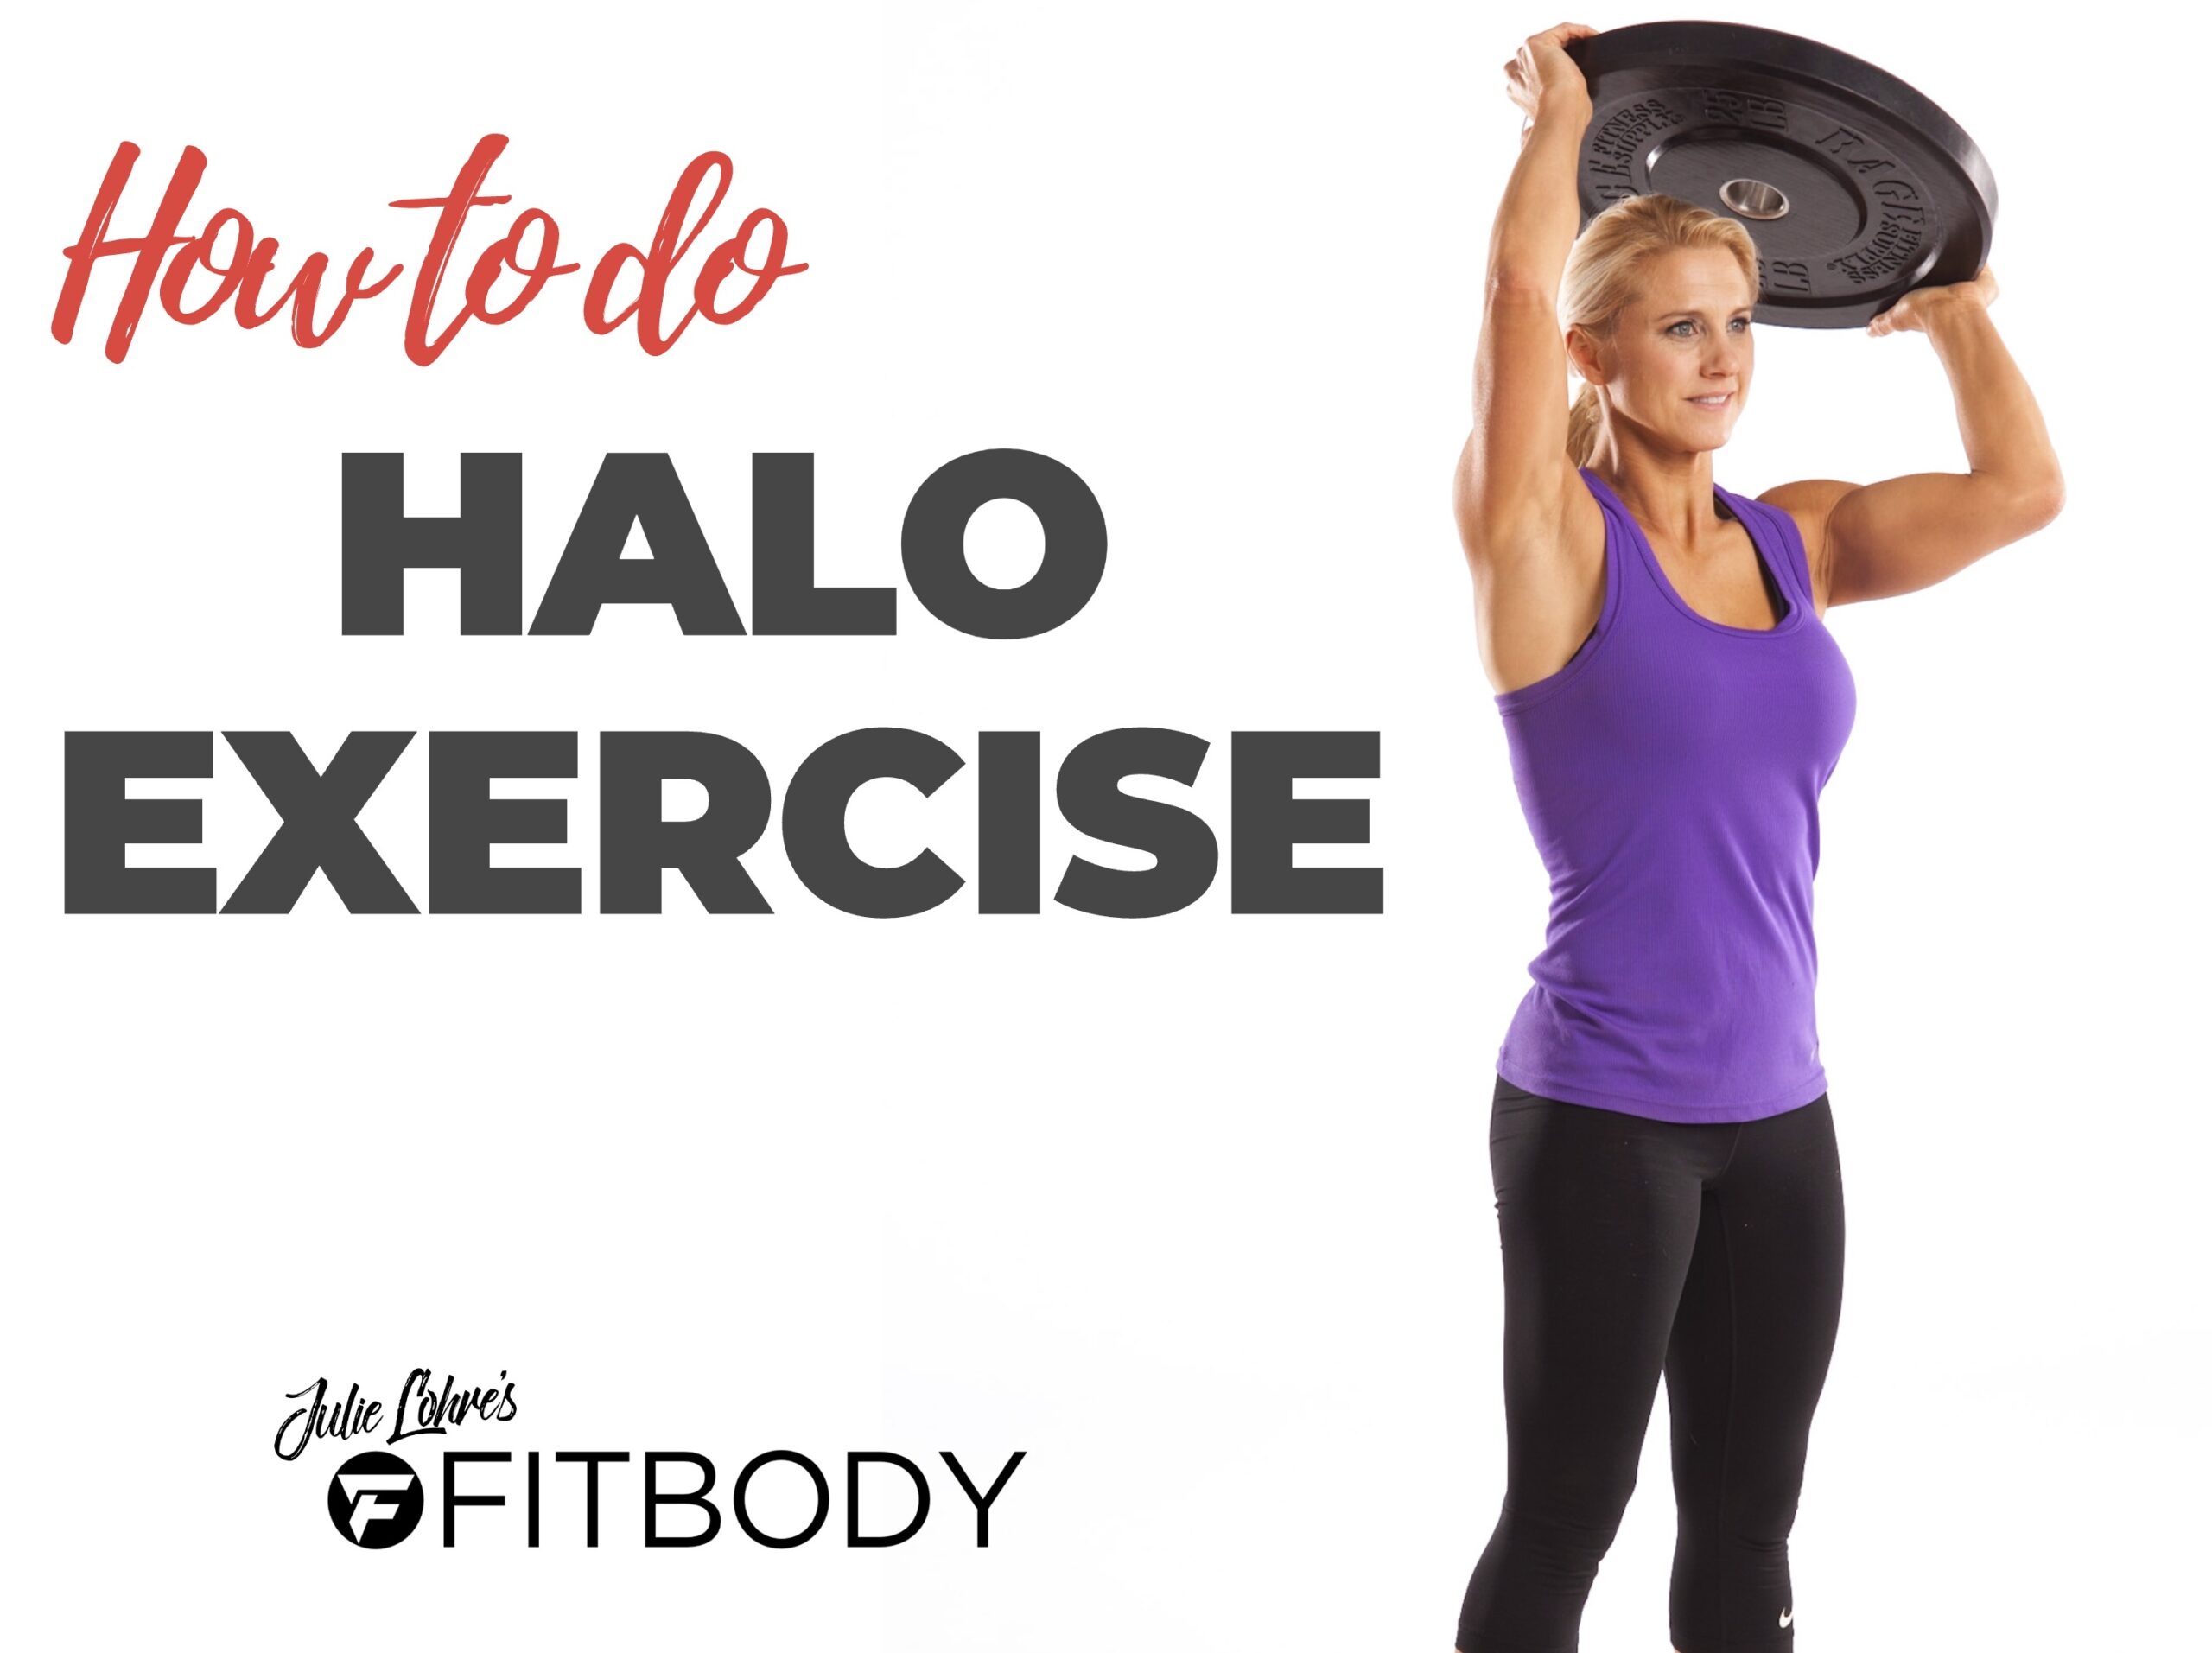
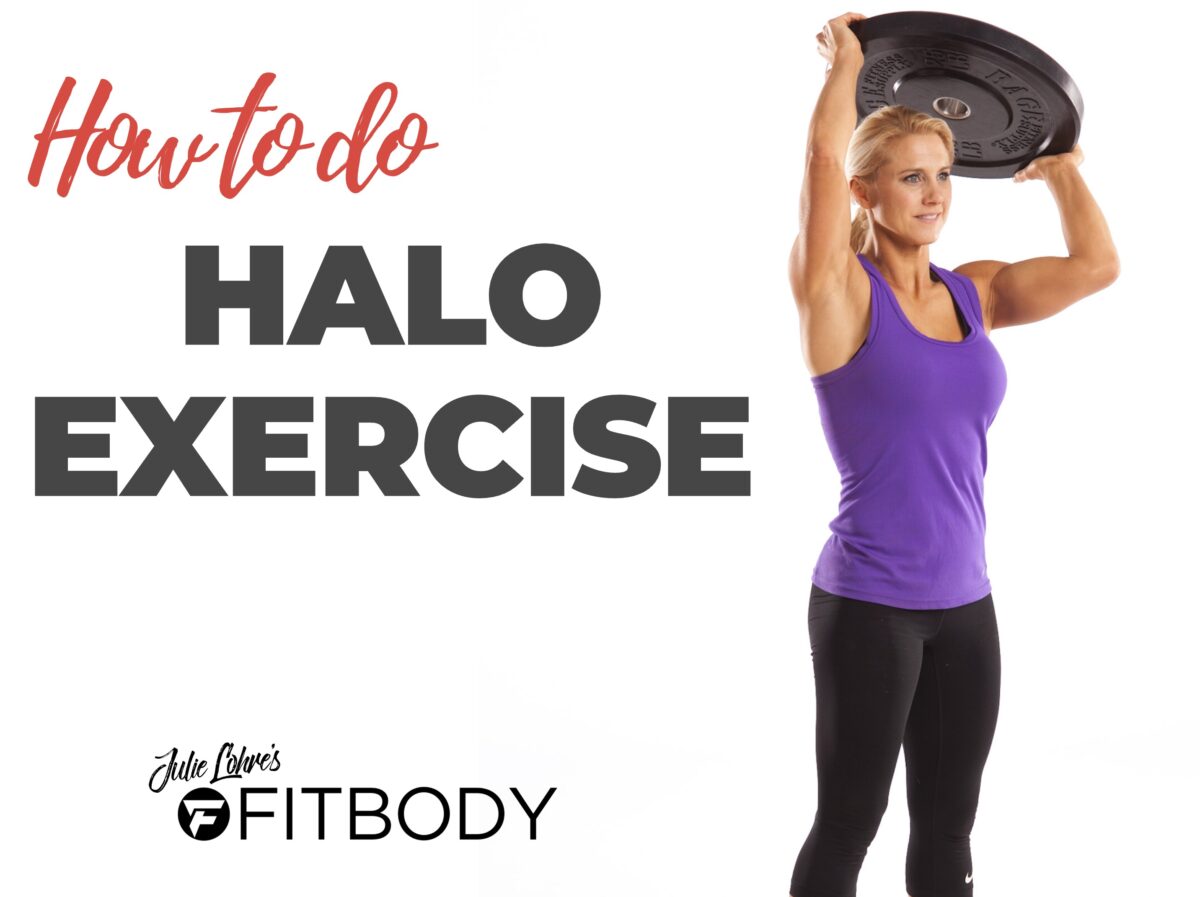
The Halo exercise, a dynamic and versatile movement, has become one of my favorite ways to work the delts as it can really help enhance shoulder strength and mobility. Originally derived from kettlebell training, the Halo exercise can be performed with either a kettlebell, a dumbbell or even an plate, offering a range of benefits that extend beyond mere muscle building. Its unique circular motion around the head not only challenges the shoulder muscles but also engages the upper back and arms, making it an all-encompassing exercise for upper body conditioning.
Step by Step Guide on How to Do the Halo Exercise
Kettlebell Halos:
- Start Position: Stand with your feet shoulder-width apart, holding the kettlebell by the handles in front of your chest.
- Initial Movement: Lift the kettlebell overhead, with arms slightly bent.
- Circular Motion: Move the kettlebell around your head in a circular motion, keeping your movements controlled and steady. Work to keep your elbows close in and avoid allowing them to splay out to the sides.
- Completing the Circle: Bring the kettlebell back to the front, completing one circle around your head.
- Repetitions: Repeat the motion in both clockwise and counterclockwise directions for balanced muscle engagement.
Dumbbell Halo Exercise:
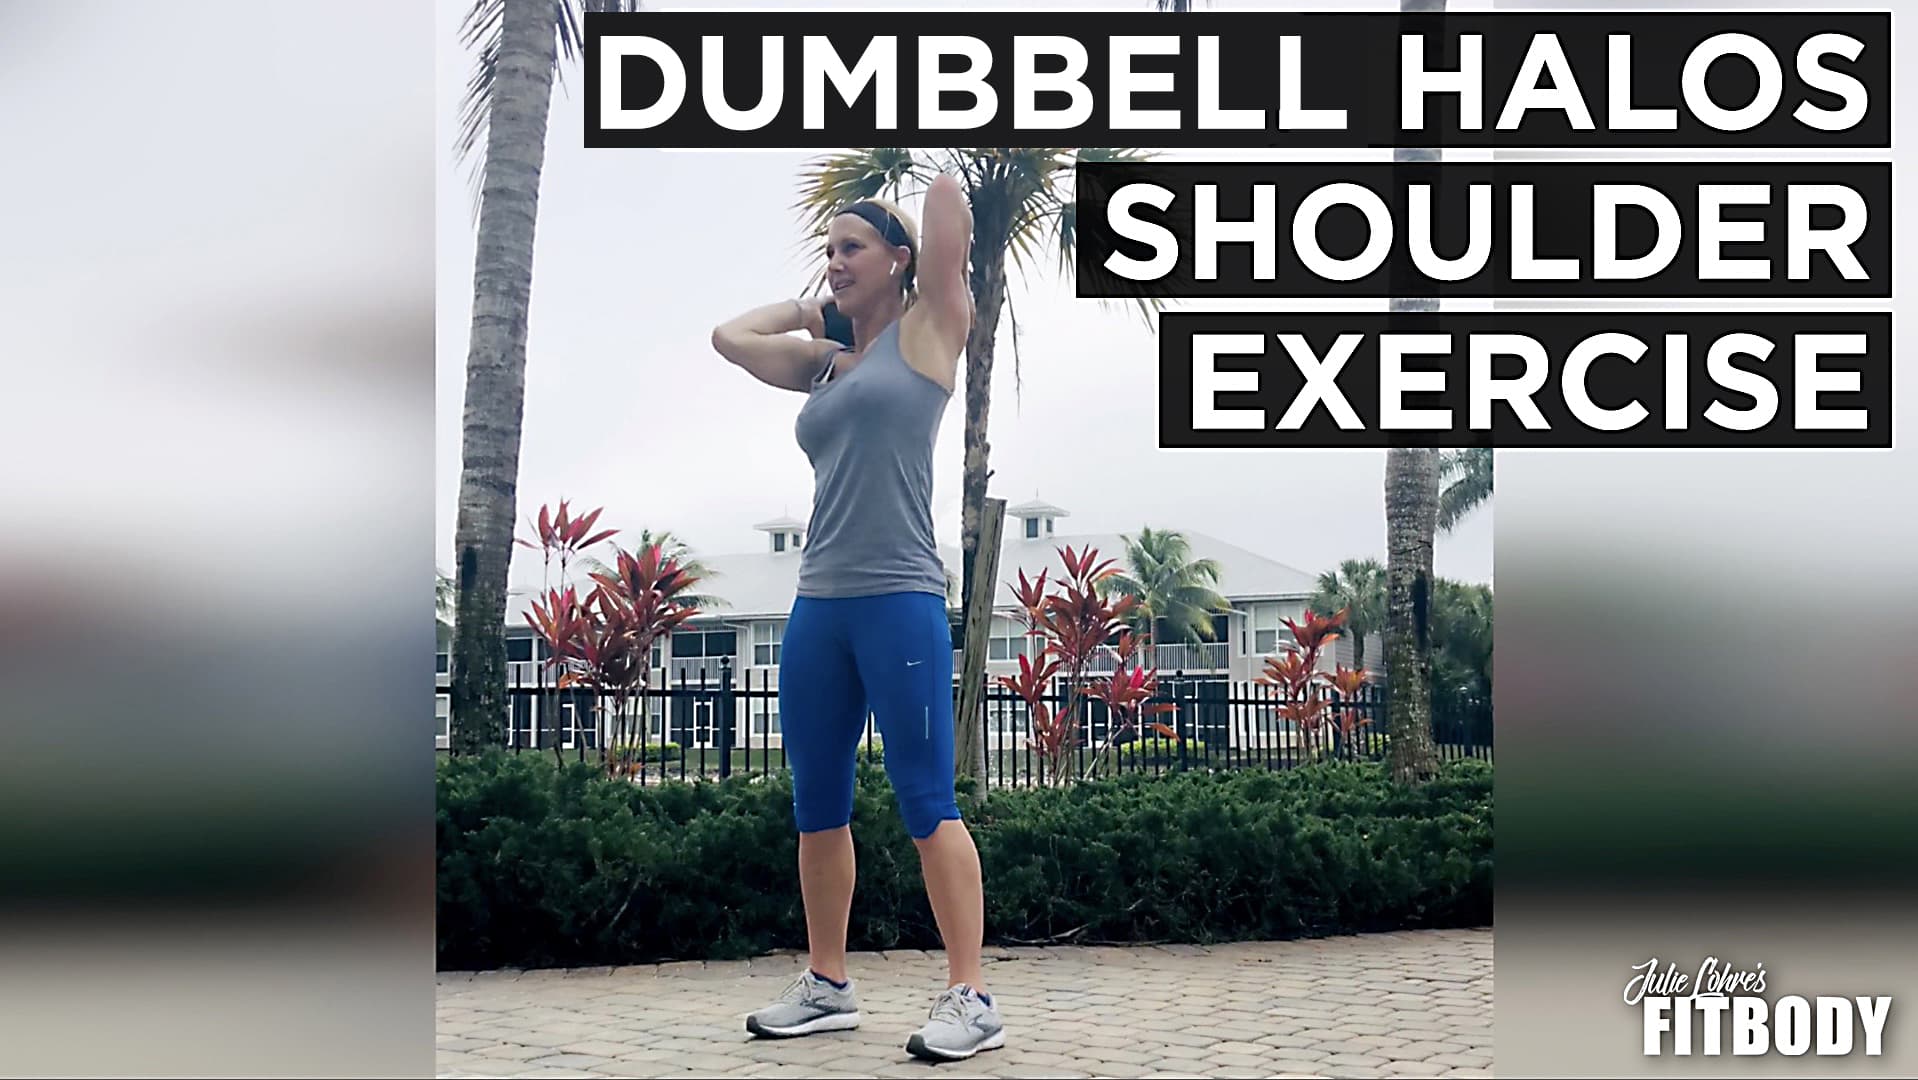
- Start Position: Stand in a similar stance as with the kettlebell, holding a dumbbell horizontally in front of your chest. With the dumbbell halo exercise, I prefer to hold the dumbbell horizontally with one hand on either side.
- Initial Lift: Raise the dumbbell over your head, maintaining a firm grip.
- Circular Path: Navigate the dumbbell in a controlled circle around your head.
- Final Movement: Complete the circle by bringing the dumbbell back to the starting position.
- Repetitions: Perform equal repetitions in both directions.
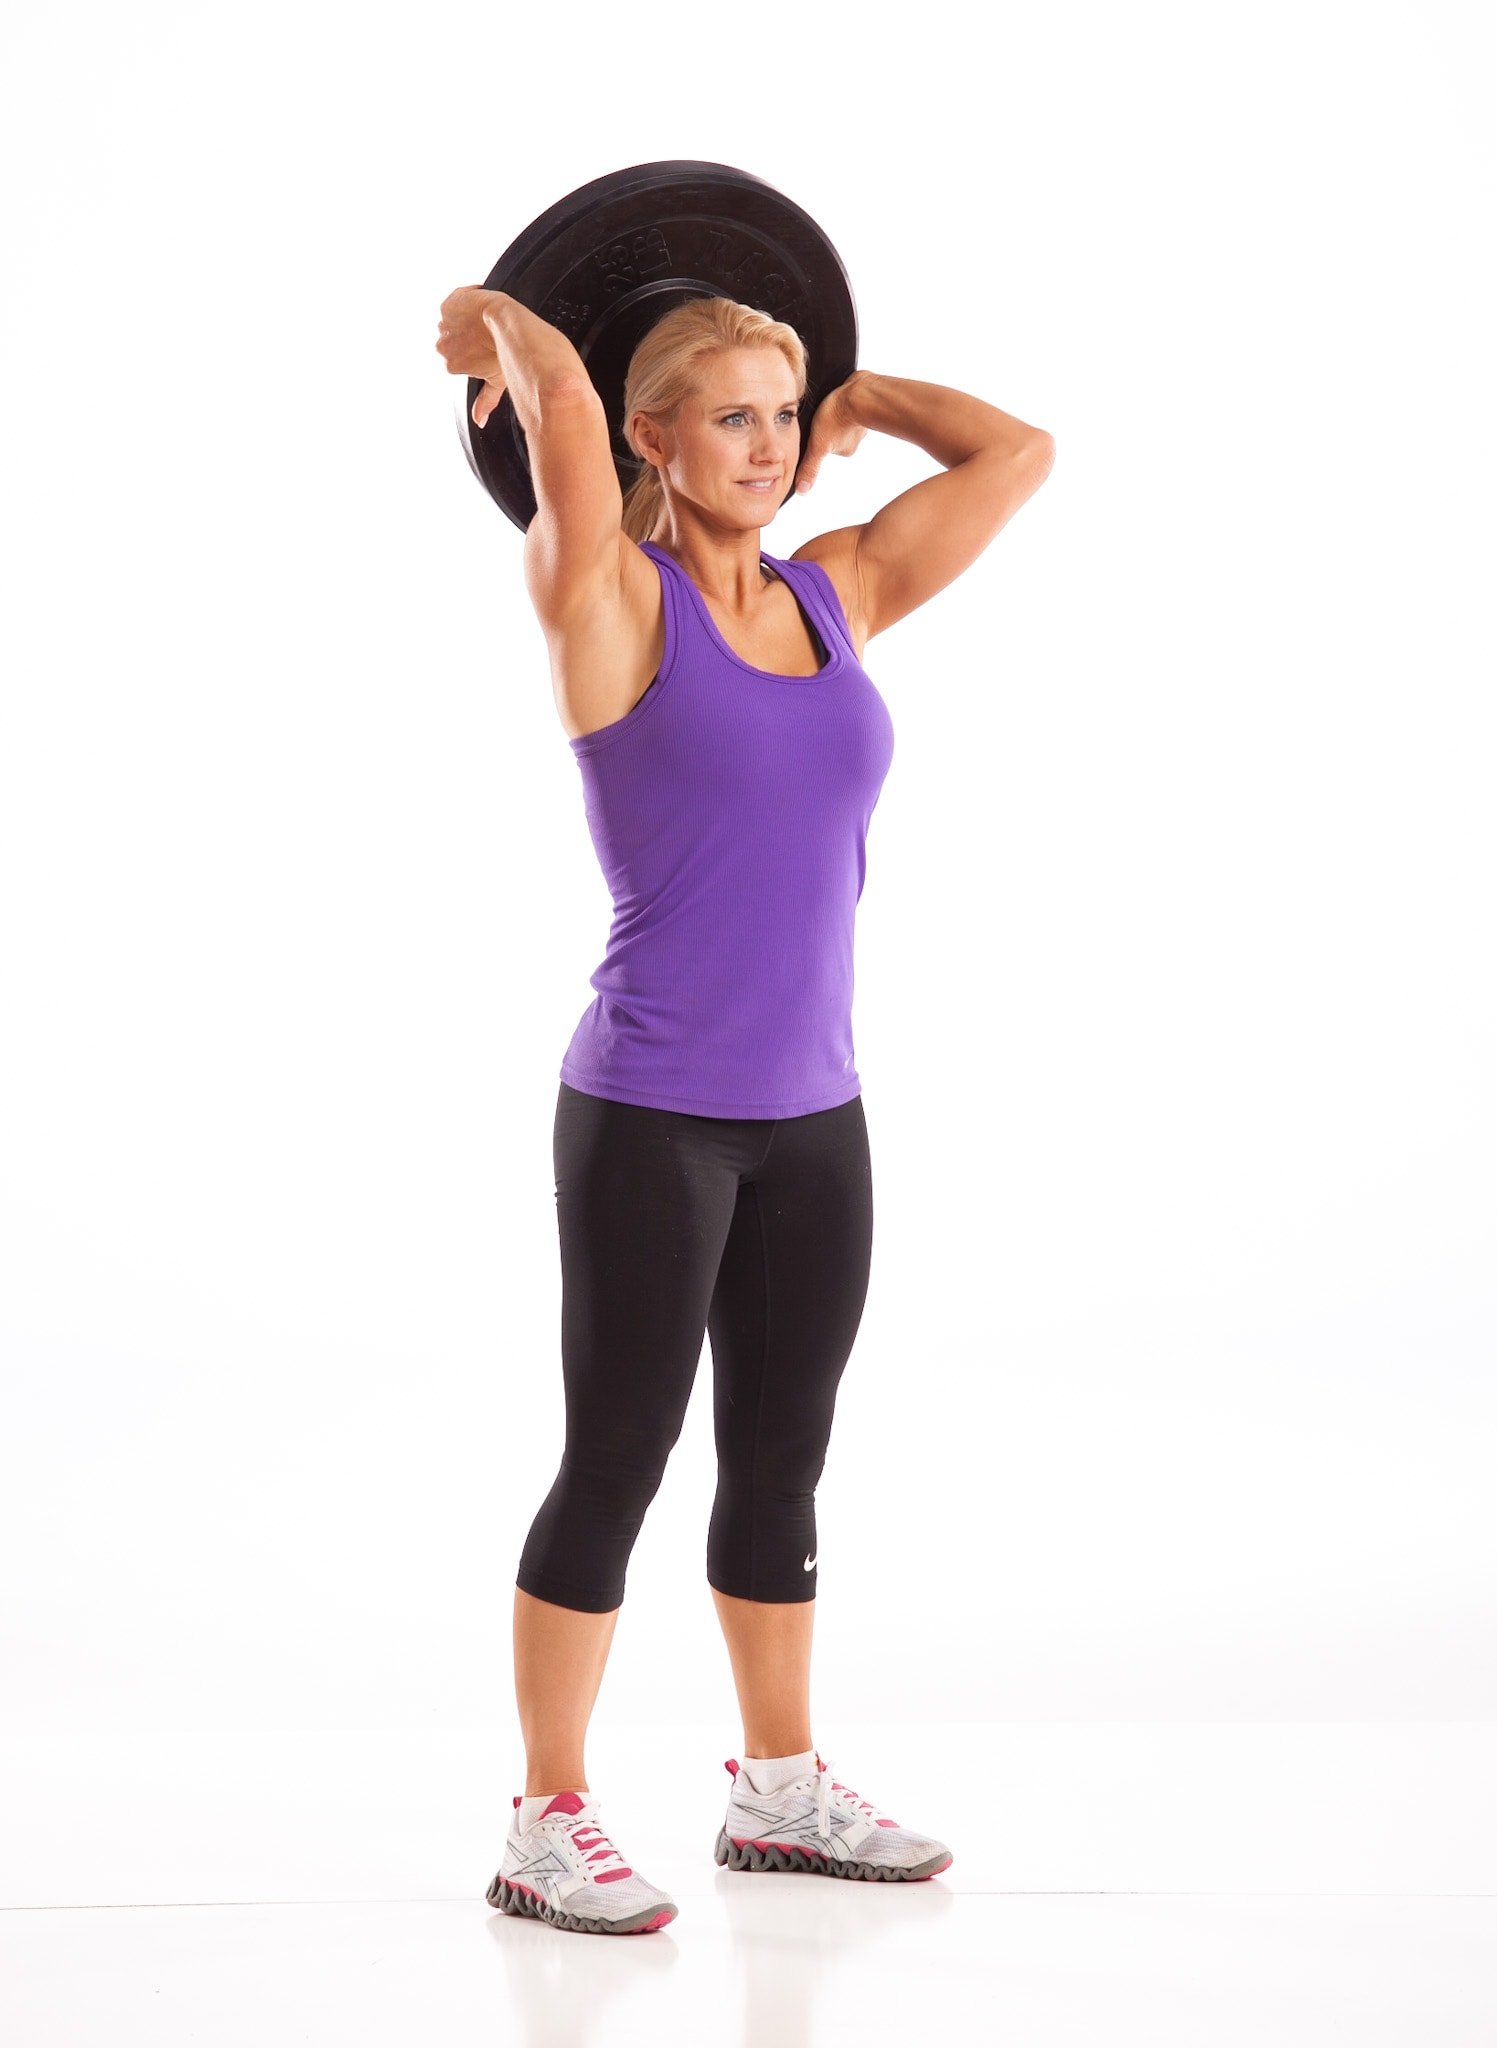
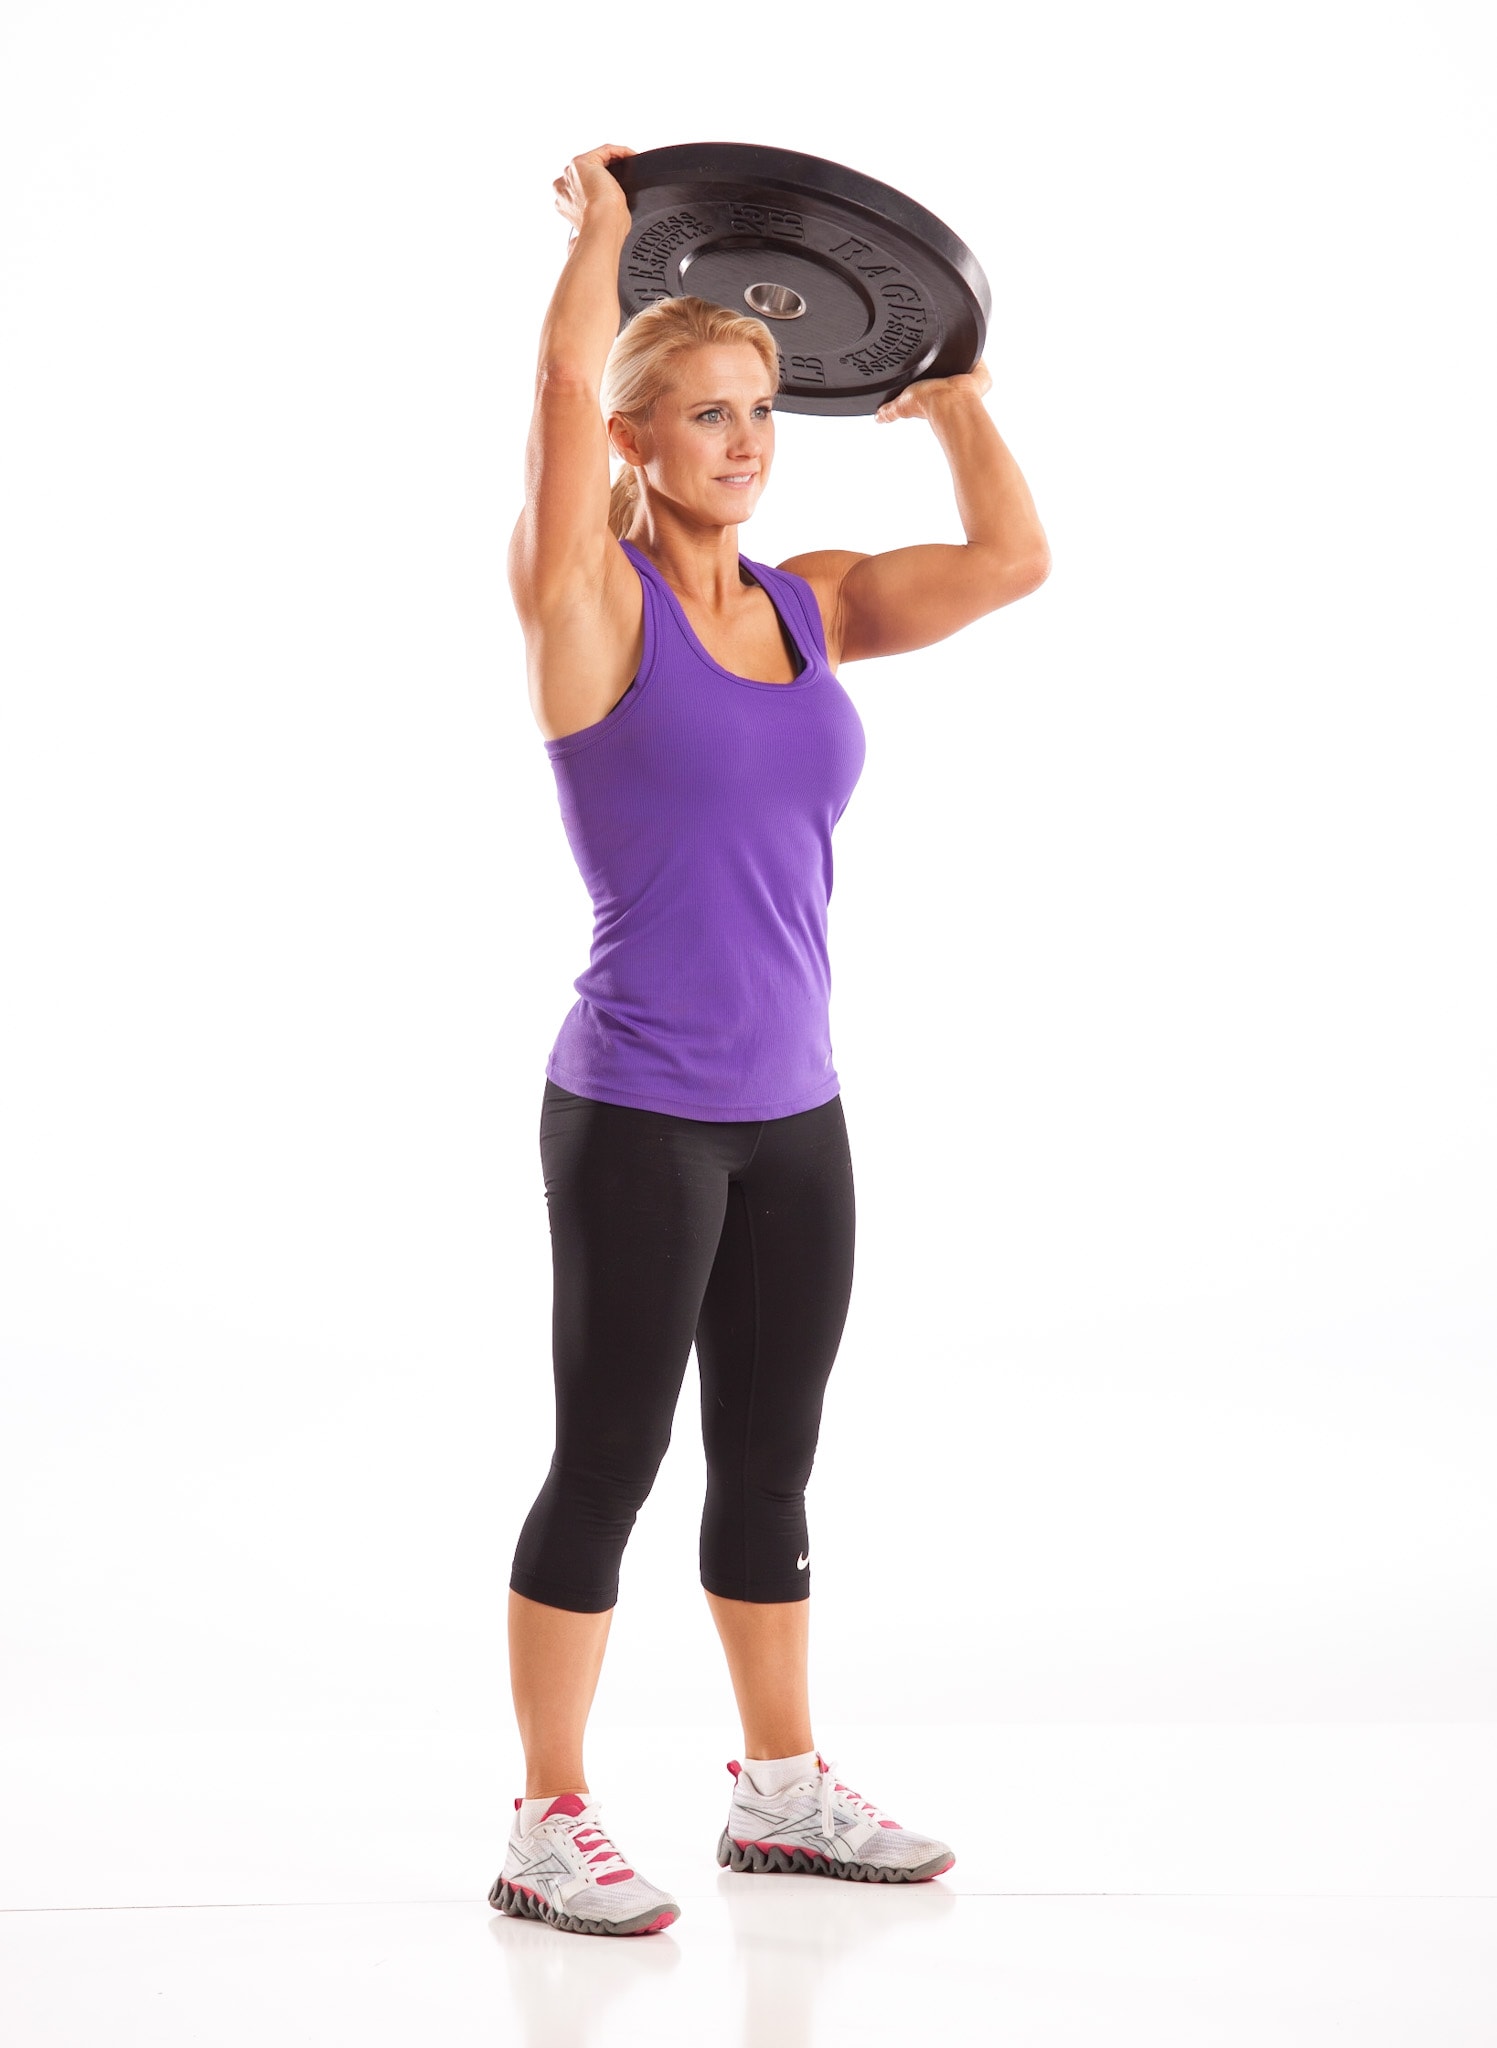
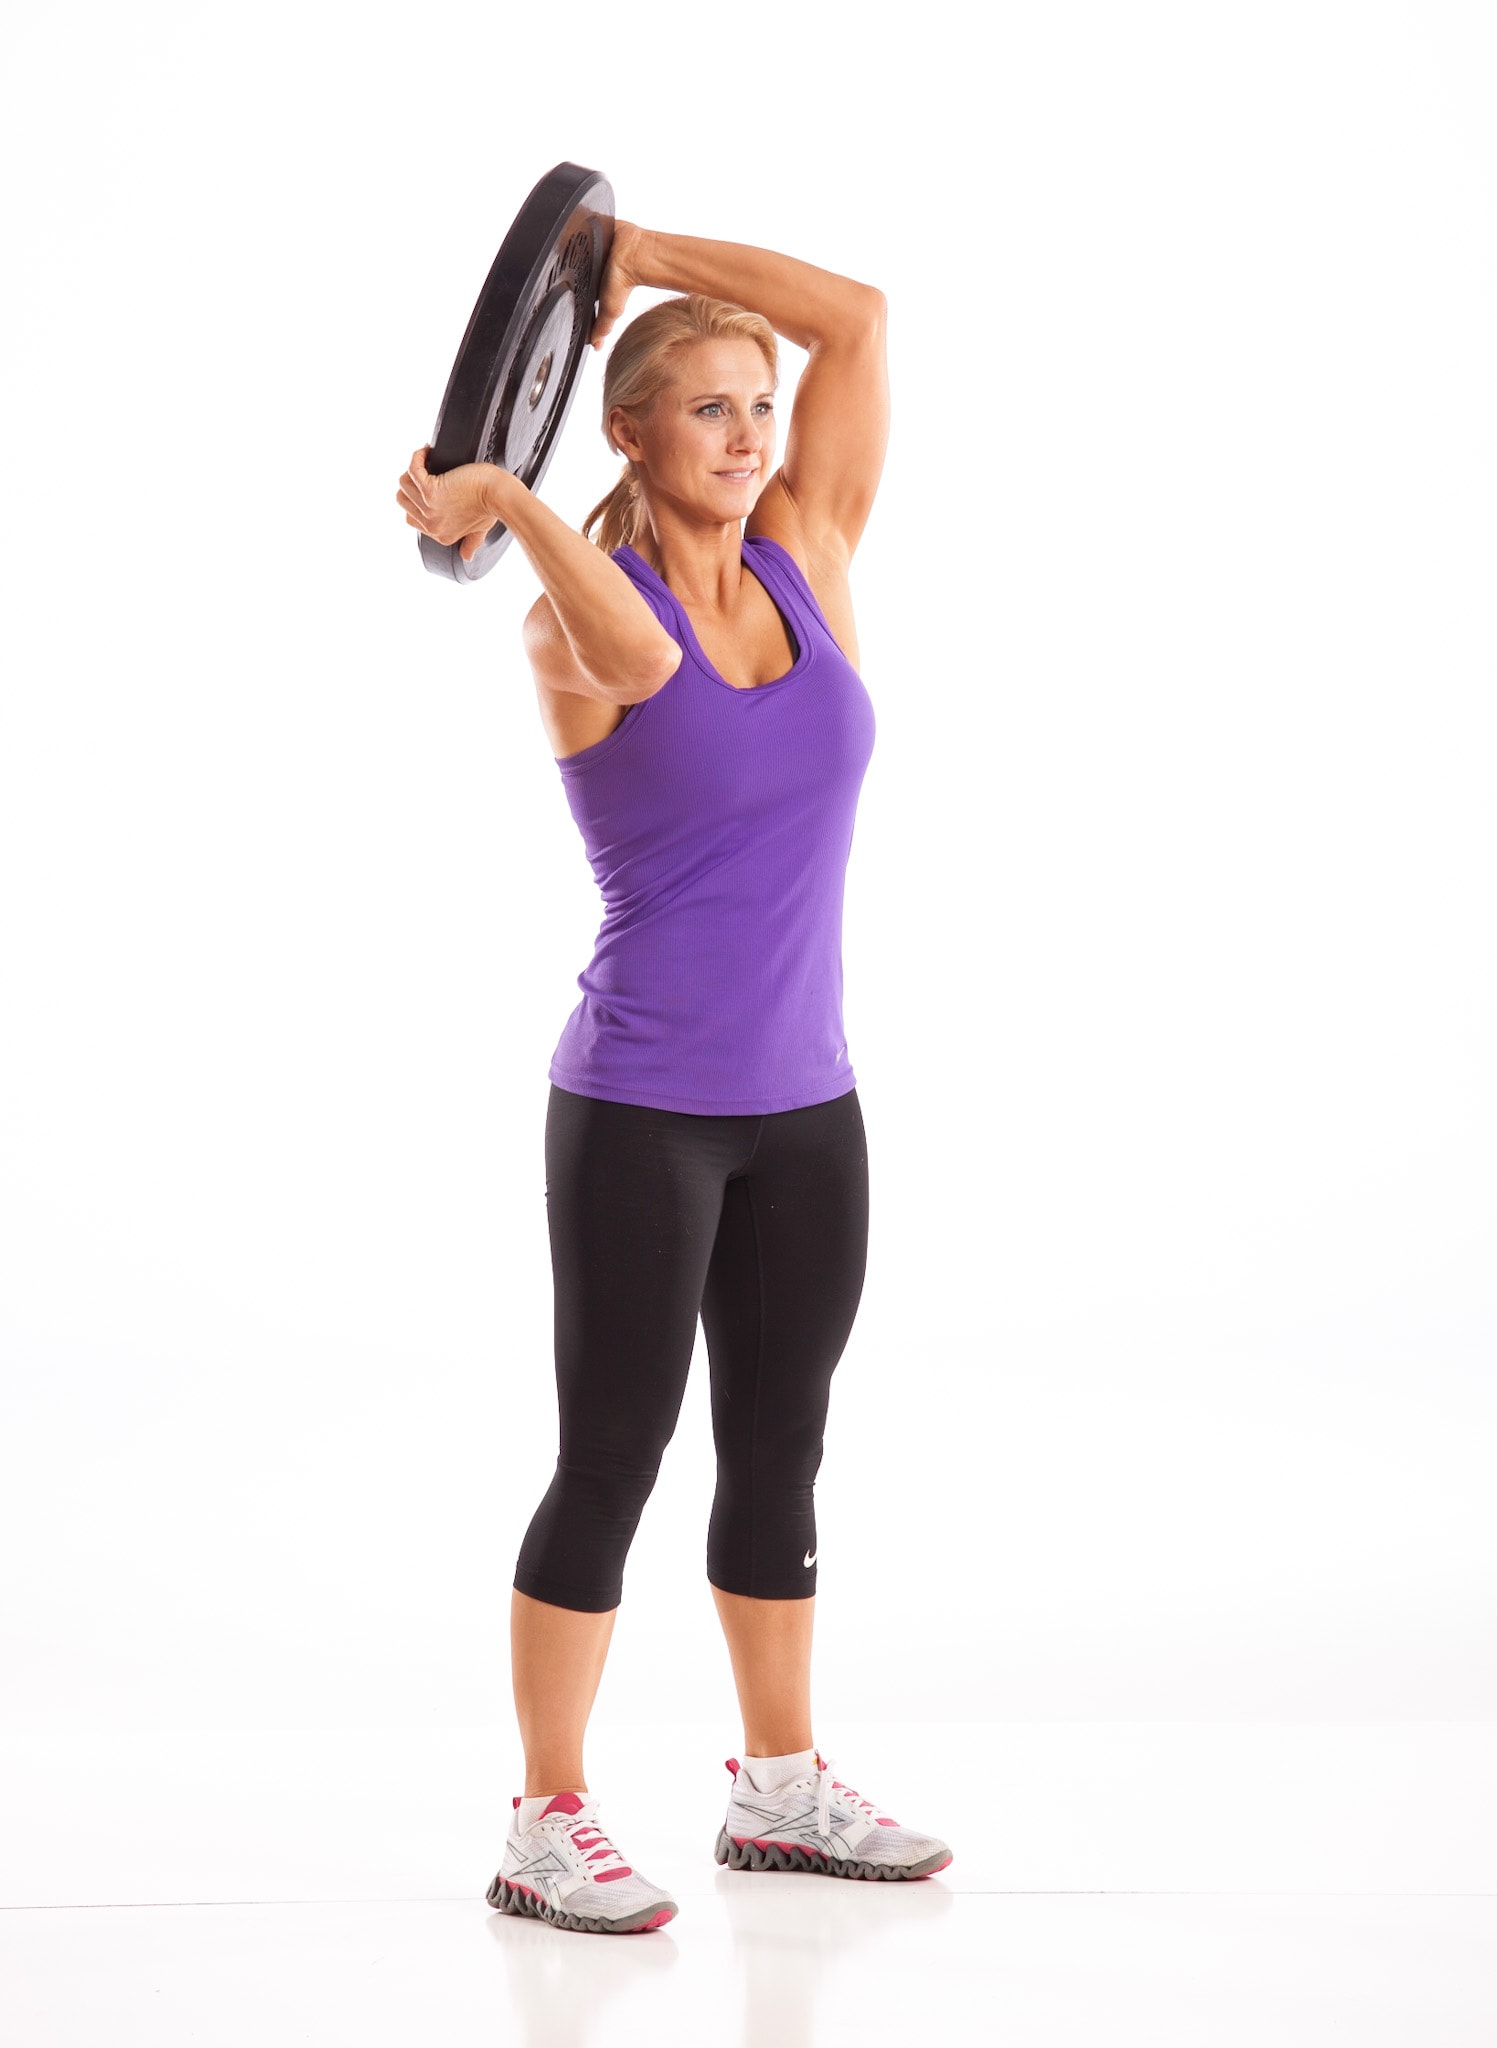
Plate Halo Exercise:
Performing a Halo exercise with a weight plate involves a similar motion to using a kettlebell or dumbbell, with some adjustments due to the shape and grip of the plate. Here’s how to do it:
- Selecting the Plate: Choose a weight plate that you can comfortably hold and control. Ensure it’s not too heavy, as the Halo exercise requires a full range of motion and control.
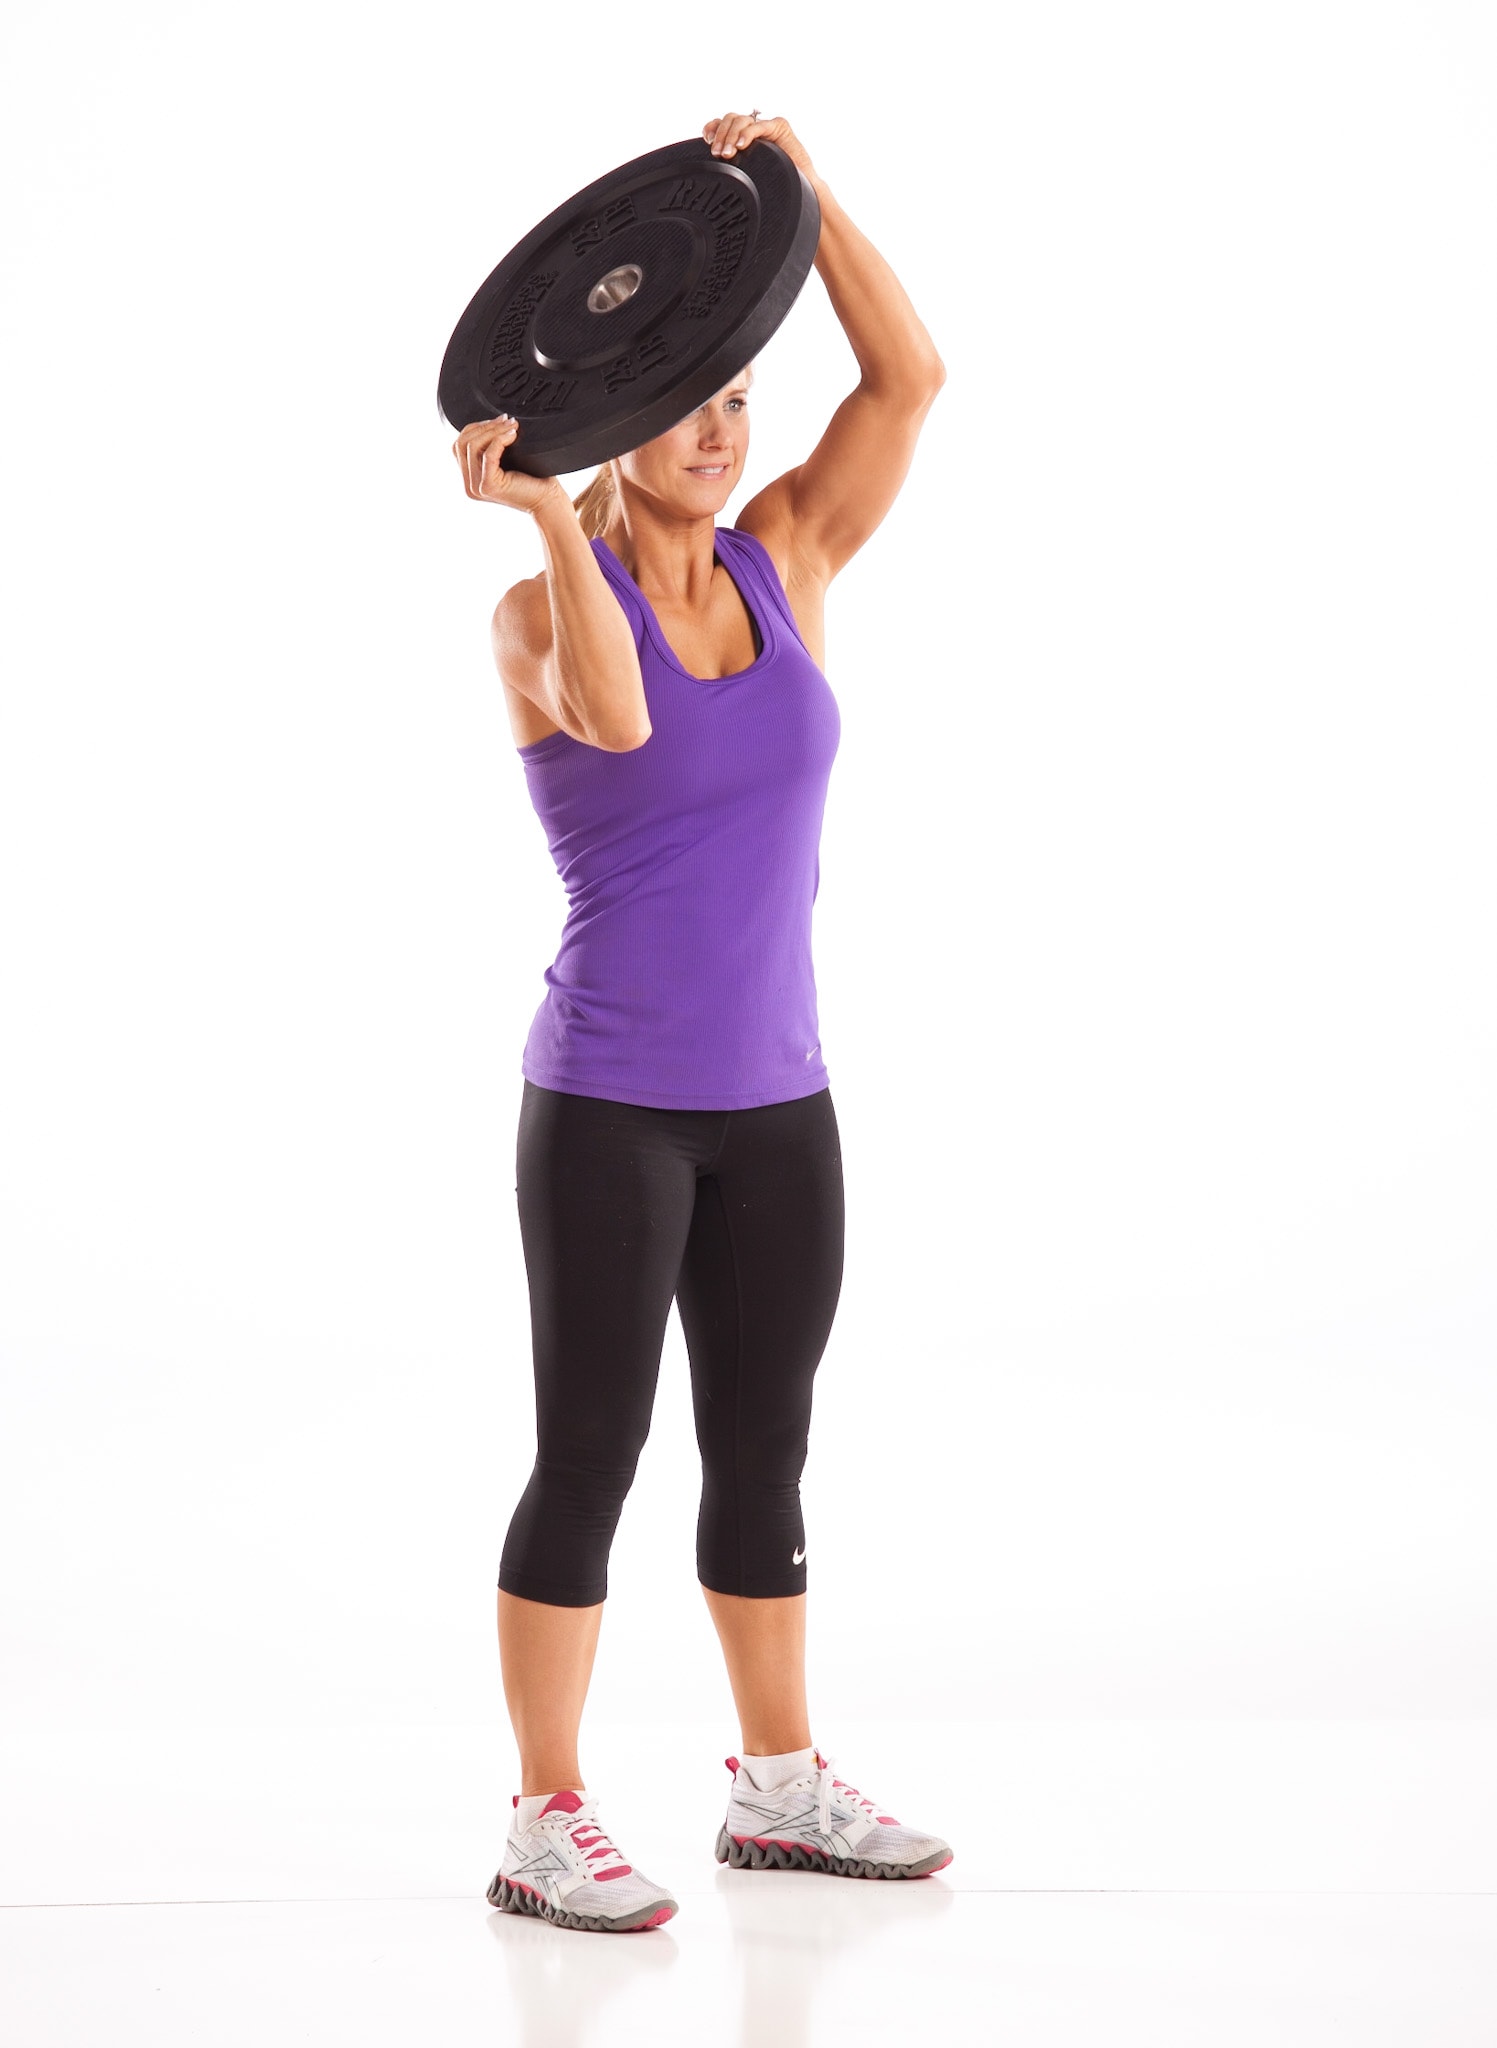
- Starting Position: Stand with your feet shoulder-width apart for a stable base. Hold the weight plate with both hands at the 3 o’clock and 9 o’clock positions (as if the plate were a steering wheel). Your hands should be on the outer edges of the plate.
- The Movement: Lift the plate up and over your head, initiating the circular motion. As you move the plate around your head, keep your elbows slightly bent and your movements smooth and controlled. Circle the plate around your head, moving it close to the back of your neck and then bringing it back to the front. Maintain an upright posture, keeping your core engaged to support your spine.
- Direction and Repetitions: Complete the circular motion in both clockwise and counterclockwise directions. This ensures balanced muscle development and joint movement. Do an equal number of circles in each direction, typically 8-12 repetitions per side, depending on your fitness level and the weight of the plate. Begin with the plate held in front of your chest, close to your body.
How should you breath during a halo exercise?
Proper breathing technique during the Halo exercise is crucial for both performance and safety. As a general guideline, you should coordinate your breathing with the movement of the exercise. Inhale as you begin the upward motion, lifting the weight (be it a kettlebell, dumbbell, or plate) overhead. This inhalation supports the upward movement, providing stability and energy as your muscles engage. As you complete the circular motion and bring the weight back down to the starting position, exhale. This exhalation aids in muscle relaxation and helps in maintaining a rhythmic pace throughout the exercise. By synchronizing your breath with the movement, you not only ensure a steady flow of oxygen to your muscles but also enhance your focus and control during the exercise, which is particularly important for maintaining proper form and preventing injury.
What are some form watch outs to safely complete the shoulder halo exercise?
To safely complete the shoulder Halo exercise, maintaining proper form is essential. Here are some key form watch-outs to keep in mind:
- Keep a Neutral Spine: Avoid arching your back excessively. An arched back can put undue stress on your spine, especially the lower back. Keep your core engaged to maintain a neutral spine throughout the exercise.
- Controlled Movement: The Halo should be a controlled, smooth movement. Avoid jerky or rushed motions, which can lead to muscle strain or joint injury.
- Avoid Shifting Your Weight Excessively: As you circle the weight around your head, it’s important to keep your hips and lower body stable. Avoid leaning or shifting your weight too much to one side, as this can compromise your balance and put extra strain on your lower back.
- Elbow Position: Keep your elbows slightly bent during the exercise. Locking out your elbows can put unnecessary pressure on the elbow joints and reduce muscle engagement.
- Head and Neck Position: Maintain a neutral head and neck position. Avoid straining your neck upwards or downwards. The weight should circle close around your head, but ensure it doesn’t come too close to hitting your head.
- Appropriate Weight Selection: Choose a weight that is challenging but manageable. Using a weight that is too heavy can lead to form breakdown and increase the risk of injury.
- Shoulder Movement: Be mindful of any discomfort or pain in the shoulder area. The Halo exercise requires a good range of motion in the shoulders, so if you have existing shoulder issues, proceed with caution or consult a fitness professional.
- Breathing: Remember to breathe correctly – inhale as you lift the weight and exhale as you complete the circle. Proper breathing helps in maintaining control and providing stability during the exercise.
- Start Slowly: If you’re new to the Halo exercise, start slowly to understand the movement pattern. Gradually increase the speed as you become more comfortable and confident with the form.
By keeping these watch-outs in mind, you can perform the Halo exercise effectively and safely, maximizing its benefits while minimizing the risk of injury.
What Muscles Does the Halo Exercise Work?
The Halo exercise is a multi-joint, functional movement that offers comprehensive engagement of various muscle groups. Its effectiveness lies in the combined movement patterns that target a range of muscles across the upper body and core.
Major Muscle Groups Targeted:
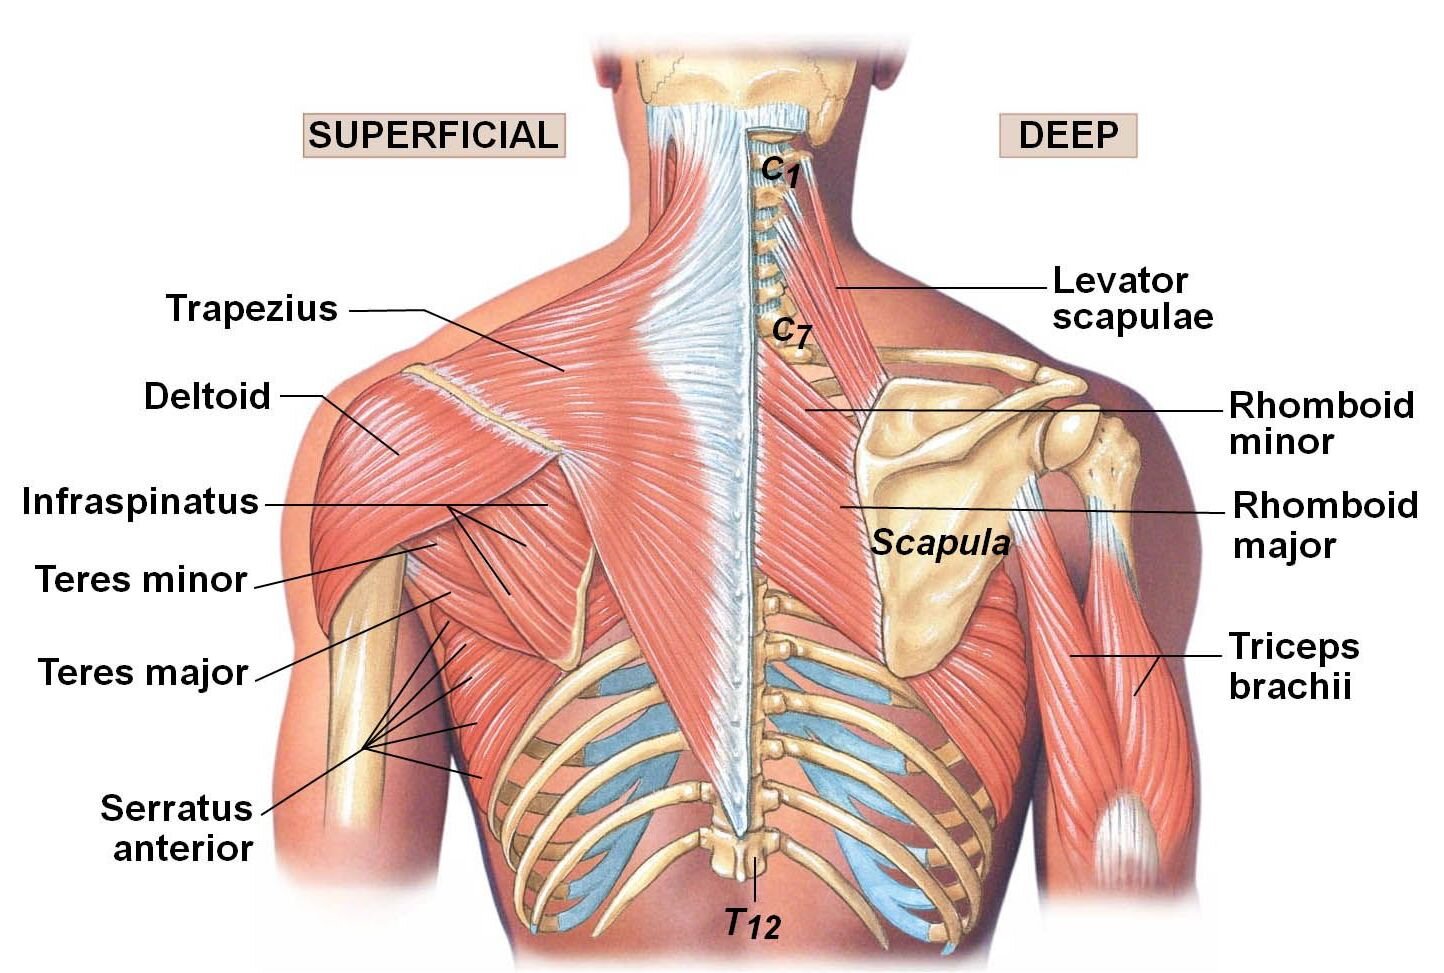
- Deltoids: These are the prime movers in the Halo exercise. The deltoids, comprising anterior, medial, and posterior fibers, are responsible for the lifting and circular motion of the weight. The anterior deltoids work during the forward movement, the medial deltoids engage during the overhead phase, and the posterior deltoids activate as the weight moves behind the head.
- Trapezius: This muscle extends along the back of the neck and shoulders. In the Halo exercise, the trapezius, especially its upper and middle portions, plays a crucial role in stabilizing the shoulder blades, ensuring a smooth transition of the weight around the head.
- Rotator Cuff: Comprising four muscles (supraspinatus, infraspinatus, teres minor, and subscapularis), the rotator cuff is essential for stabilizing the shoulder joint. The rotational aspect of the Halo exercise helps in strengthening these muscles, improving the dynamic stability of the shoulder joint.
- Biceps and Triceps: These arm muscles assist in the lifting and lowering phases of the exercise. The biceps brachii aids in controlling the weight as it approaches the front of the head, while the triceps are involved in the extension phase as the weight moves over and behind the head.
- Core Muscles: The rectus abdominis, obliques, and the deeper transverse abdominis are engaged to maintain torso stability and posture during the exercise. This engagement is crucial to prevent excessive spinal loading and to transfer force effectively through the upper body.
Additional Muscular Involvement:
- Scapular Stabilizers: Muscles like the rhomboids and serratus anterior are engaged to stabilize the scapula, providing a solid foundation for shoulder movements.
- Forearm Muscles: Grip strength is crucial, especially when performing Halos with heavier weights. The forearm muscles play a significant role in maintaining a firm grip on the kettlebell or dumbbell.
Scientific Perspective:
From a biomechanical standpoint, the Halo exercise involves both concentric (muscle shortening) and eccentric (muscle lengthening) movements, providing a balanced muscular workout. The circular motion around the head necessitates coordinated muscle activation, enhancing inter-muscular coordination. Furthermore, this exercise can contribute to proprioceptive improvements, enhancing the body’s ability to sense joint positioning, which is vital for overall joint health and injury prevention.
By working such a diverse range of muscles, the Halo exercise is not just a shoulder exercise but a comprehensive upper body and core strengthening movement, beneficial for overall functional fitness.
Posture for the Halo Exercise
I find that maintaining proper posture is key when you’re doing the Halo exercise. It’s all about keeping your spine neutral. You really want to avoid arching your back too much, as that can lead to some unwanted strain. Also, make sure to engage your core the whole time. This is super important as it helps support your lower back, keeping everything nice and stable. And don’t forget about moving the weight in a controlled way. You’re aiming for steady and smooth movements here. It’s not a race, so take your time to get the form right, and you’ll definitely reap all the benefits of the exercise while keeping the risk of injury as low as possible.
Are Halos Good for Rotator Cuff?
Yes! Physical therapists and exercise physiologists generally agree that the Halo exercise is beneficial for the rotator cuff. It strengthens and increases the flexibility of the rotator cuff muscles, which are essential for shoulder joint stability and injury prevention. If you do have a rotator cuff tear or injury already though, consult your doctor before adding halos to your exercise regiment.
Find out more about Online Personal Training with Julie

Appendix
- Chang, A. U., and Craig Liebenson. “The Halo Exercise for Shoulder and Thoracic Spine Mobility.” Journal of Bodywork and Movement Therapies, vol. 18, no. 1, 2014, pp. 145-147. PubMed, doi:10.1016/j.jbmt.2013.11.014.
- “The Kettlebell Halo: Techniques, Benefits, and Variations.” ATH Sport. 15 Dec 2021.
- Sweeney, Samantha, et al. “Dynamite Delts: ACE Research Identifies Top Shoulder Exercises.” American Council on Exercise, Sept. 2014, www.acefitness.org.

